
- access_time15 December 2025
- account_circleJuan Dangelo
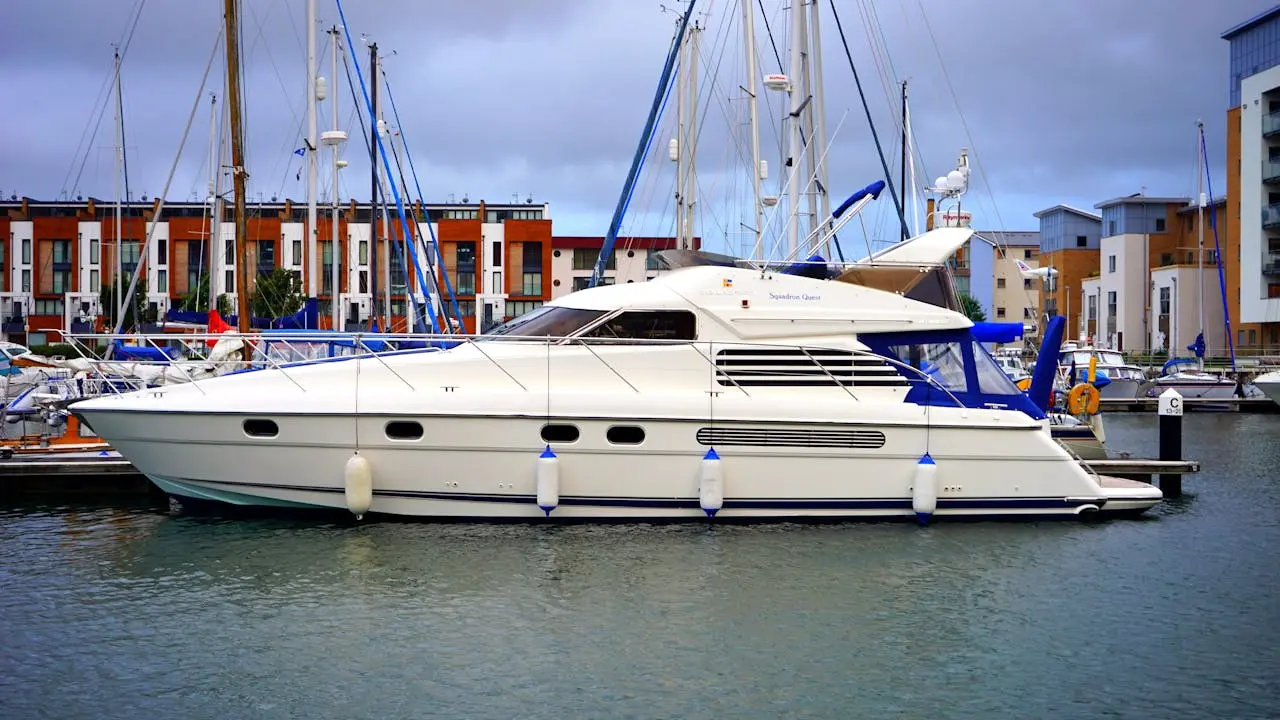
If you’ve ever seen a yacht go from “looks fine” to deep, mirror-like gloss in a single day (or weekend), you’ve seen paint correction at work. But a professional correction isn’t just “buffing” — it’s a controlled, repeatable workflow that removes defects safely and consistently across complex curves, tight edges, and marine-specific surfaces like gelcoat and painted topsides.
Here’s what a real paint correction process looks like when we do it professionally.
Step 1: Intake + Goals (What “Perfect” Means to You)
We start by understanding what you want:
-
Showroom gloss for photos/events
-
Maintenance reset after a season of sun and salt
-
Oxidation removal (chalky, faded finish)
-
Swirl and haze reduction without chasing every microscopic defect
This matters because correction is always a balance: maximum improvement vs. surface safety and long-term durability.
Step 2: Proper Wash (So We Don’t Polish Dirt Into the Finish)
Before any machine touches the surface, we remove grit that can cause additional marring:
-
Pre-rinse + foam (when appropriate)
-
Two-bucket wash method or controlled wash system
-
Soft microfiber wash media
-
Thorough rinse and careful drying
A rushed wash is one of the fastest ways to create the same swirls you’re trying to remove.
Step 3: Chemical Decontamination (Salt, Minerals, and Bonded Grime)
Marine environments leave behind stubborn contaminants:
-
Salt residue
-
Hard-water spotting/mineral deposits
-
Environmental fallout and grime that “sticks” to the surface
We use professional-grade decontamination products so the surface is truly clean before polishing.
Step 4: Mechanical Decontamination (When Needed)
If the surface still feels rough after chemical decon, we may use controlled mechanical decontamination (e.g., clay alternatives) to remove bonded contaminants. This step is done carefully because it can introduce light marring — which we’ll correct in the polishing stages.
Step 5: Surface Prep + Masking (Protect the Details)
This is where the job starts looking like a “real shop process”:
-
Masking sensitive trims, rubber, plastics, decals, and edges
-
Protecting non-skid areas
-
Controlling sling and dust around hardware
Good masking protects the boat and keeps the finish crisp.
Step 6: Paint/Gelcoat Assessment (Thickness + Defect Mapping)
We inspect under high-quality lighting to reveal:
-
Swirls and spiderwebbing
-
Oxidation and chalking
-
Haze from previous polishing
-
Scratches and scuffs
-
Water spot etching
On many jobs, we also measure paint/gelcoat thickness (where appropriate) and identify high-risk zones like sharp edges and raised body lines.
Step 7: The Test Spot (The Most Important Step)
Before we “go full send,” we do a test spot to answer:
-
What pad + compound actually works here?
-
How many passes are needed?
-
Can we get the result safely without overheating or overcutting?
A test spot prevents overcorrection and ensures consistency across the entire yacht.
Step 8: Compounding Stage (Defect Removal / Heavy Cut)
This is where we remove the bulk of swirls, oxidation, and deeper defects:
-
Machine selection (often DA for control; rotary only when appropriate)
-
Pad choice (wool/microfiber/foam depending on the surface)
-
Compound selection matched to the finish hardness
-
Controlled passes with temperature management
We work panel-by-panel, wiping residue clean and checking results frequently.
Step 9: Polishing Stage (Clarity + Gloss)
Compounding can leave light haze or micro-marring. Polishing refines the finish:
-
Softer pads and finishing polishes
-
Slow, controlled passes
-
Inspection under multiple light sources
This is the stage that creates that deep, wet gloss you notice from across the marina.
Step 10: Final Refinement + Panel Wipe
We do a final wipe-down to remove polishing oils and verify the true finish. This is how you know the gloss is real — not “filled” or temporarily hidden.
Step 11: Protect the Work (So It Stays Looking Corrected)
Paint correction is the transformation; protection is what locks it in.
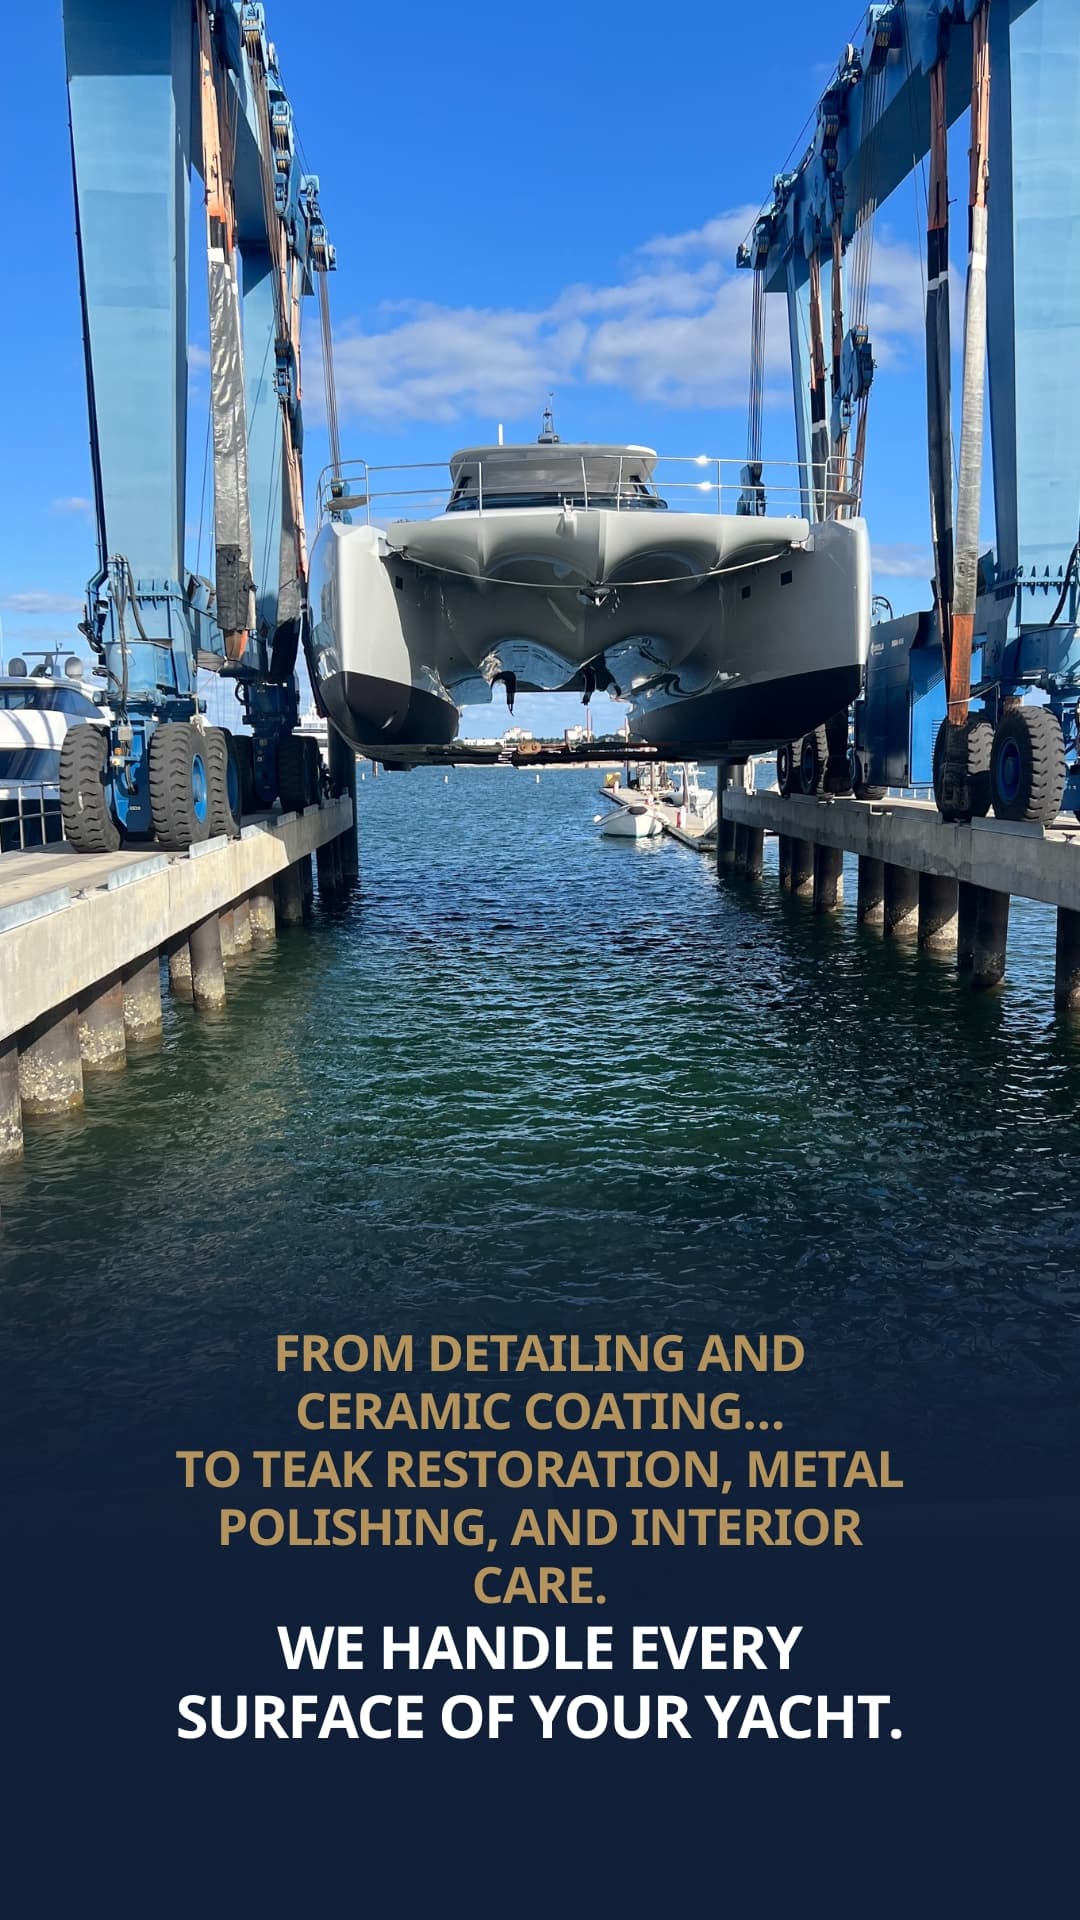
Depending on your goals and usage, we’ll recommend a durable protective layer such as a marine-grade sealant or a ceramic coating. Protection helps with:
-
UV resistance
-
Salt and grime release (easier washing)
-
Reduced water spotting and staining
-
Longer-lasting gloss
Step 12: Final Walkthrough + Aftercare Tips
We finish with a quality check and simple guidance so you don’t reintroduce swirls immediately:
-
Safe wash techniques
-
Towel and soap recommendations
-
What to avoid (dirty brushes, harsh chemicals, dry wiping)
-
Maintenance schedule based on how and where you boat
What Affects Time and Cost?
Every yacht correction is different. The biggest variables are:
-
Size and surface area
-
Level of oxidation and defect depth
-
Previous polishing history
-
Gelcoat vs. painted surfaces
-
Access challenges (rails, tight passes, ladders, platforms)
That’s why a professional workflow always starts with inspection and a test spot — it creates predictable results.
Want This Done Professionally?
If you want a true, step-by-step professional correction (with the right prep, safe technique, and a finish that stays glossy), you can learn more about our service here: Eminent Yacht Care – Paint Correction.
Recent Posts
- Created at : 16 December 2025
- Created at : 29 November 2025
- Created at : 29 November 2025