
- access_time01 December 2025
- account_circleJuan Dangelo
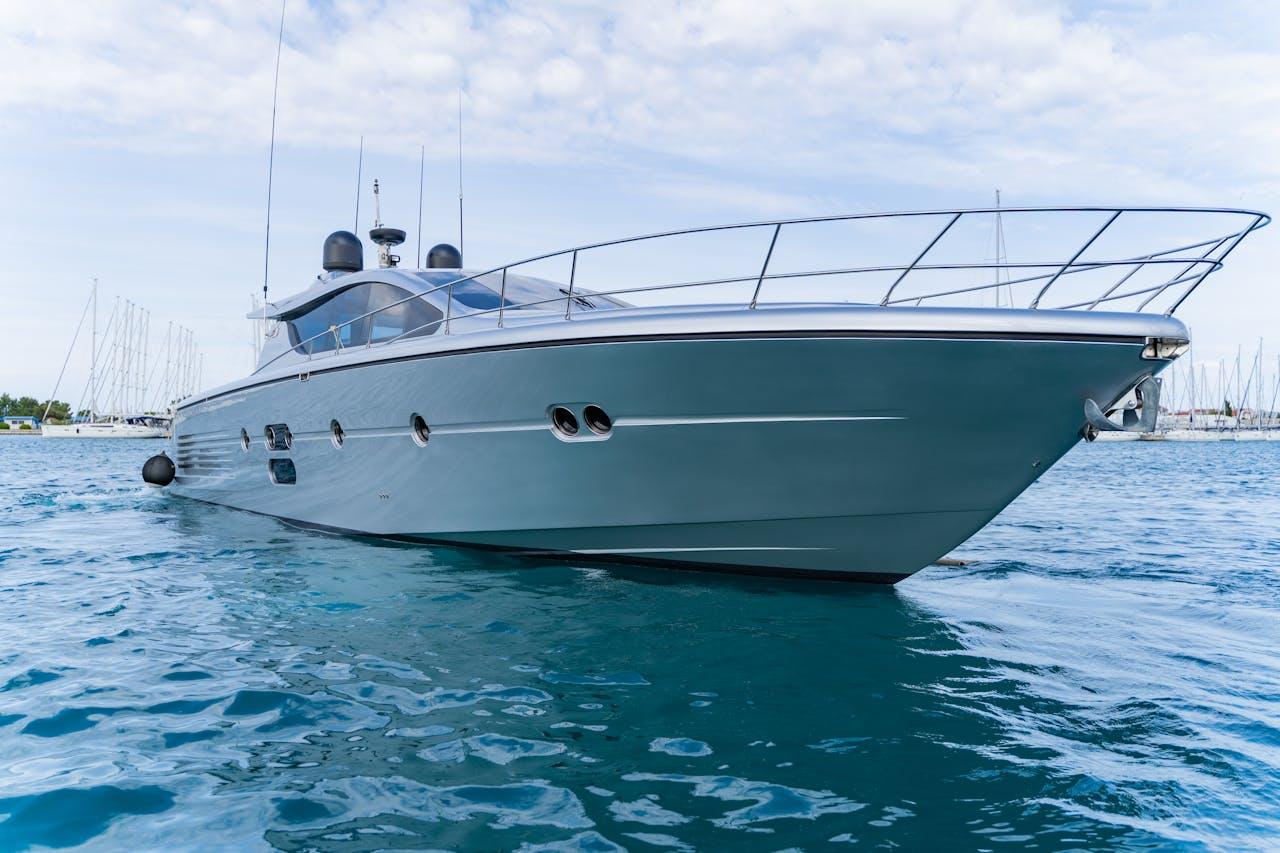
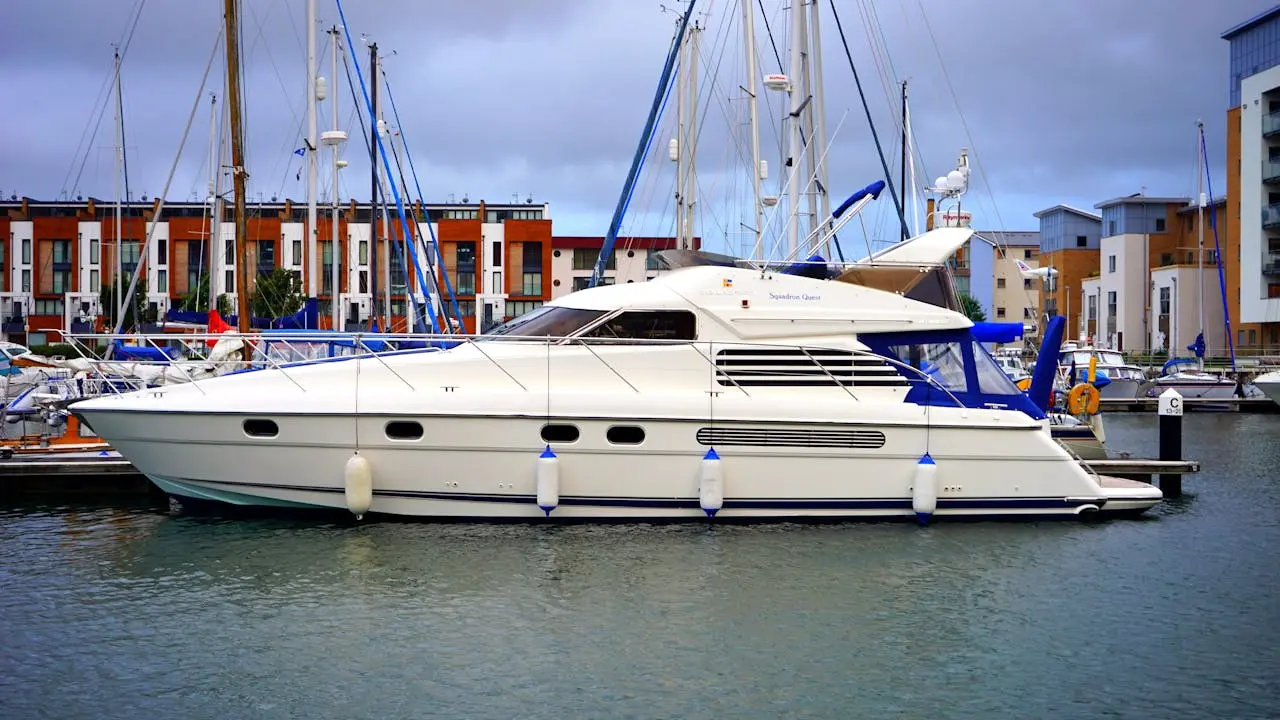
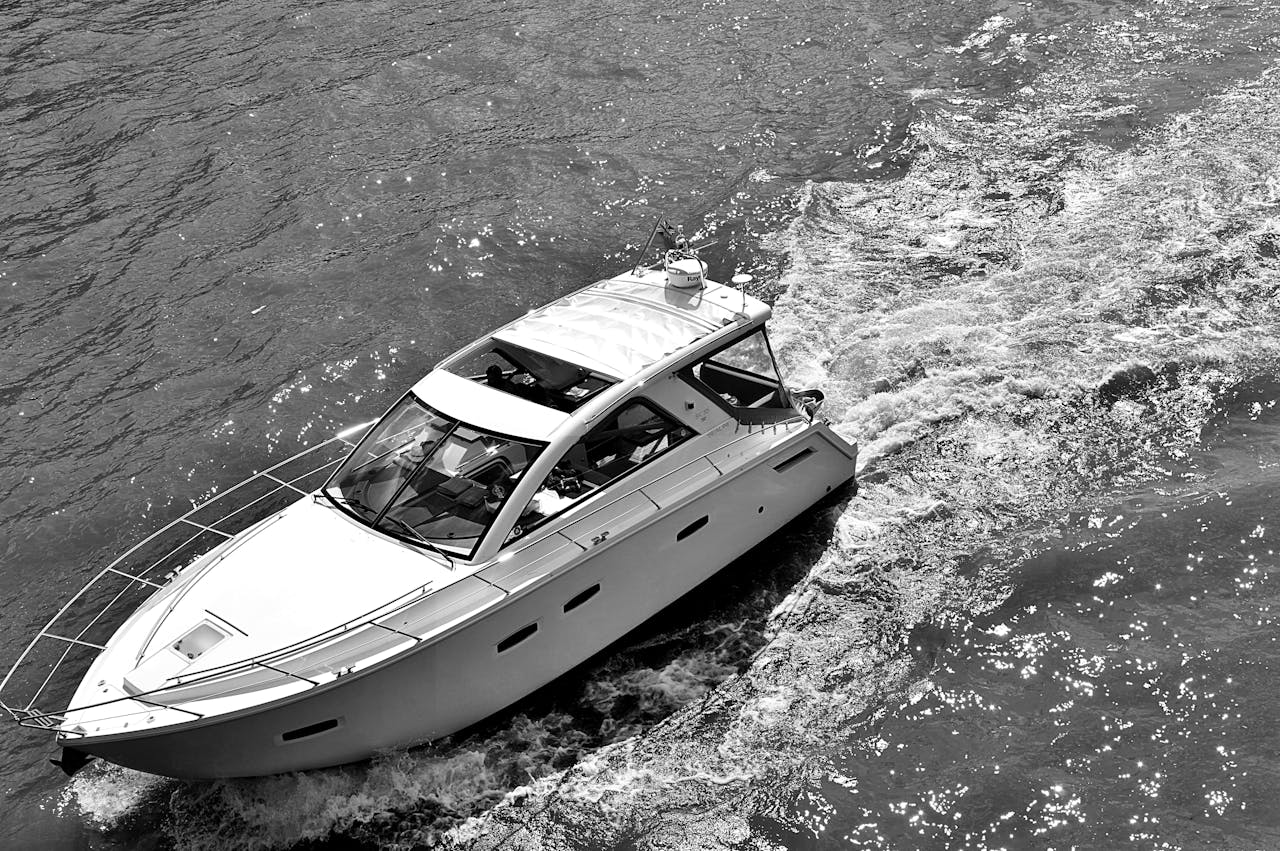
- Ceramic Coating
If there is one "Golden Rule" in the world of marine detailing, it is this: The result is 90% preparation and 10% application.
Many yacht owners make the mistake of buying an expensive ceramic coating kit, applying it directly to their hull, and then wondering why it looks streaky or peels off a month later.
Ceramic coating is transparent. It does not hide imperfections; it locks them in. If you coat over oxidation, water spots, or swirl marks, you are essentially laminating those defects for the next three years. Furthermore, if the surface isn't chemically stripped of oils, the coating will not bond.
Here is the professional roadmap to preparing your boat for a flawless ceramic application.
Step 1: The "Strip" Wash
A standard maintenance wash isn't enough. You need to strip away any existing wax, grease, and loose surface contaminants.
-
The Goal: A squeaky-clean surface with no previous protection layers.
-
The Process: Use a high-concentration "Strip Soap" or a degreaser mixed with your marine wash. Avoid "Wash and Wax" soaps, as these leave silicone behind (the enemy of ceramic coating).
-
Pro Tip: Pay special attention to the waterline and exhaust ports where soot and scum lines accumulate.
Step 2: Surface Decontamination
Even after washing, your gelcoat likely has embedded contaminants like iron fallout, tree sap, or deeply ingrained salt.
-
Chemical Decon: Spray an iron remover on the hull. If it turns purple, it is reacting with iron particles (common in boatyards) and dissolving them.
-
Mechanical Decon (Clay Bar): If the surface feels rough to the touch (like sandpaper) after washing, use a clay bar or a clay mitt with plenty of lubricant. Glide it over the hull to pull out embedded dirt.
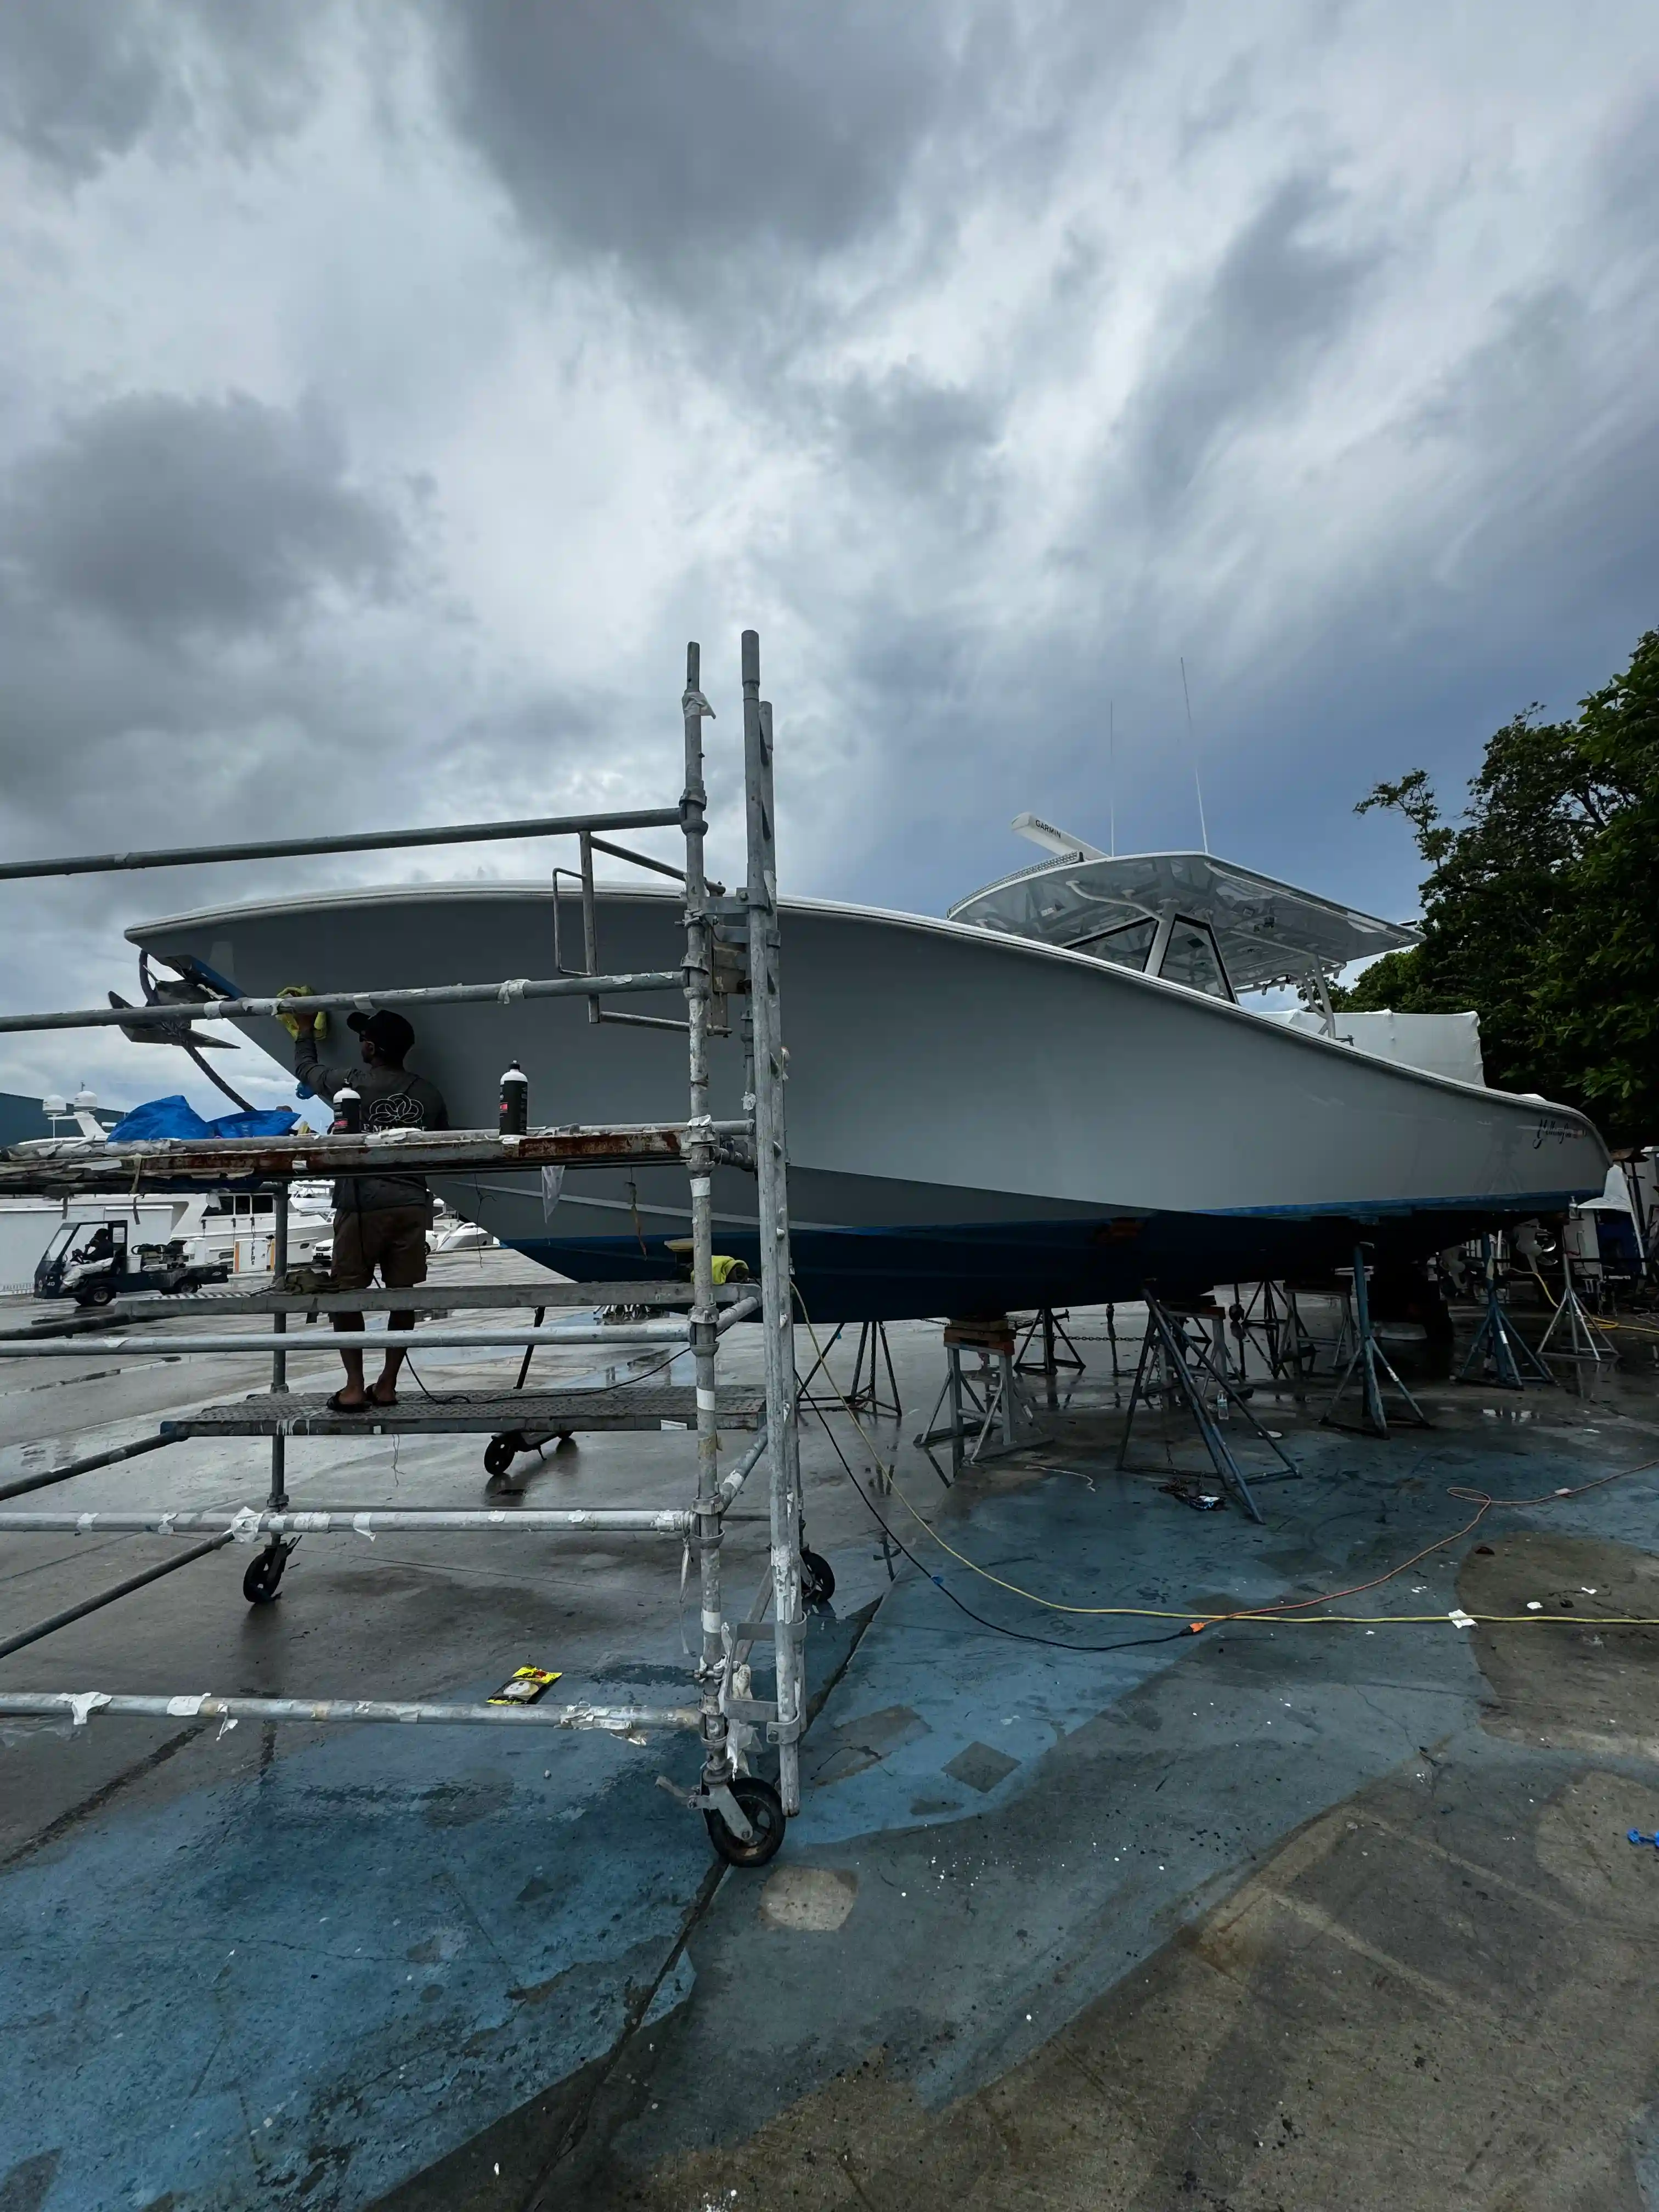
Step 3: Paint Correction (The Most Important Step)
This is the labor-intensive stage where you restore the gloss. Since ceramic coating amplifies the look of the surface beneath it, that surface needs to be mirror-smooth.
-
Assessment: Look at your gelcoat. Is it chalky (oxidized)? Does it have swirl marks?
-
Compound (Cutting): If there is oxidation or scratches, use a heavy-cut marine compound and a wool pad on a rotary buffer. This removes the dead layer of gelcoat.
-
Polish (Finishing): Follow up with a fine polish and a foam pad to remove the swirl marks left by the compounding stage. This "jewels" the surface to a high gloss.
-
Note: Even on brand-new boats, a light polish is recommended to remove factory imperfections.
-
Step 4: The Solvent Wipe (IPA Wipe)
This is the step most DIYers forget, and it is the #1 cause of coating failure. Polishing compounds are rich in oils. If you apply ceramic coating over polishing oil, it cannot cross-link with the gelcoat.
-
The Goal: A surgically clean, dry surface.
-
The Solution: Use a dedicated "Panel Prep" spray or a homemade mixture of Isopropyl Alcohol (IPA) and distilled water (typically a 30% IPA / 70% Water mix).
-
The Process: Spray the mixture onto a clean microfiber towel (not directly on the boat to avoid streakiness) and wipe down the entire hull. The surface should feel "grabby," not slick.
Step 5: Environmental Control
Before you uncork that bottle of ceramic coating, check your environment.
-
Temperature: ideally between 50°F and 80°F (10°C - 26°C).
-
Humidity: High humidity accelerates the curing time, making the coating difficult to buff off.
-
Direct Sun: Never apply ceramic coating in direct sunlight. The surface temperature will be too hot, causing the solvents to flash off instantly, leaving you with high spots and streaks that are a nightmare to fix.
Before you commit to the time and cost of application, it is essential to understand exactly what you are paying for. To get a transparent look at the benefits and the limitations of this technology, read our breakdown of Yacht Ceramic Coating Pros and Cons.
Summary Checklist
-
Strip Wash: Remove old wax and grease.
-
Clay/Decon: Remove embedded grit.
-
Compound/Polish: Remove oxidation and scratches (create the shine).
-
IPA Wipe: Remove polishing oils to ensure bonding.
-
Check Weather: Ensure shade and moderate temperatures.
Once you have checked these five boxes, your vessel is ready to receive its armor.
Recent Posts
- Created at : 16 December 2025
- Created at : 16 December 2025
- Created at : 29 November 2025