
- access_time10 December 2025
- account_circleJuan Dangelo
If you want your boat to stay glossier for longer—and be easier to wash—ceramic coating is one of the best upgrades you can do. At Eminent Yacht Care, we ceramic coat boats all the time, and the results come down to one thing: prep. The coating only performs as well as the surface underneath it.
If you’d rather have us handle the full process (wash, correction, coating, curing), here’s our service page: Eminent Yacht Care – Ceramic Coating
What ceramic coating does (and doesn’t) do
A marine ceramic coating forms a durable, hydrophobic layer on gelcoat or marine paint that helps:
-
repel water and grime
-
reduce staining from salt, bird droppings, and water spots
-
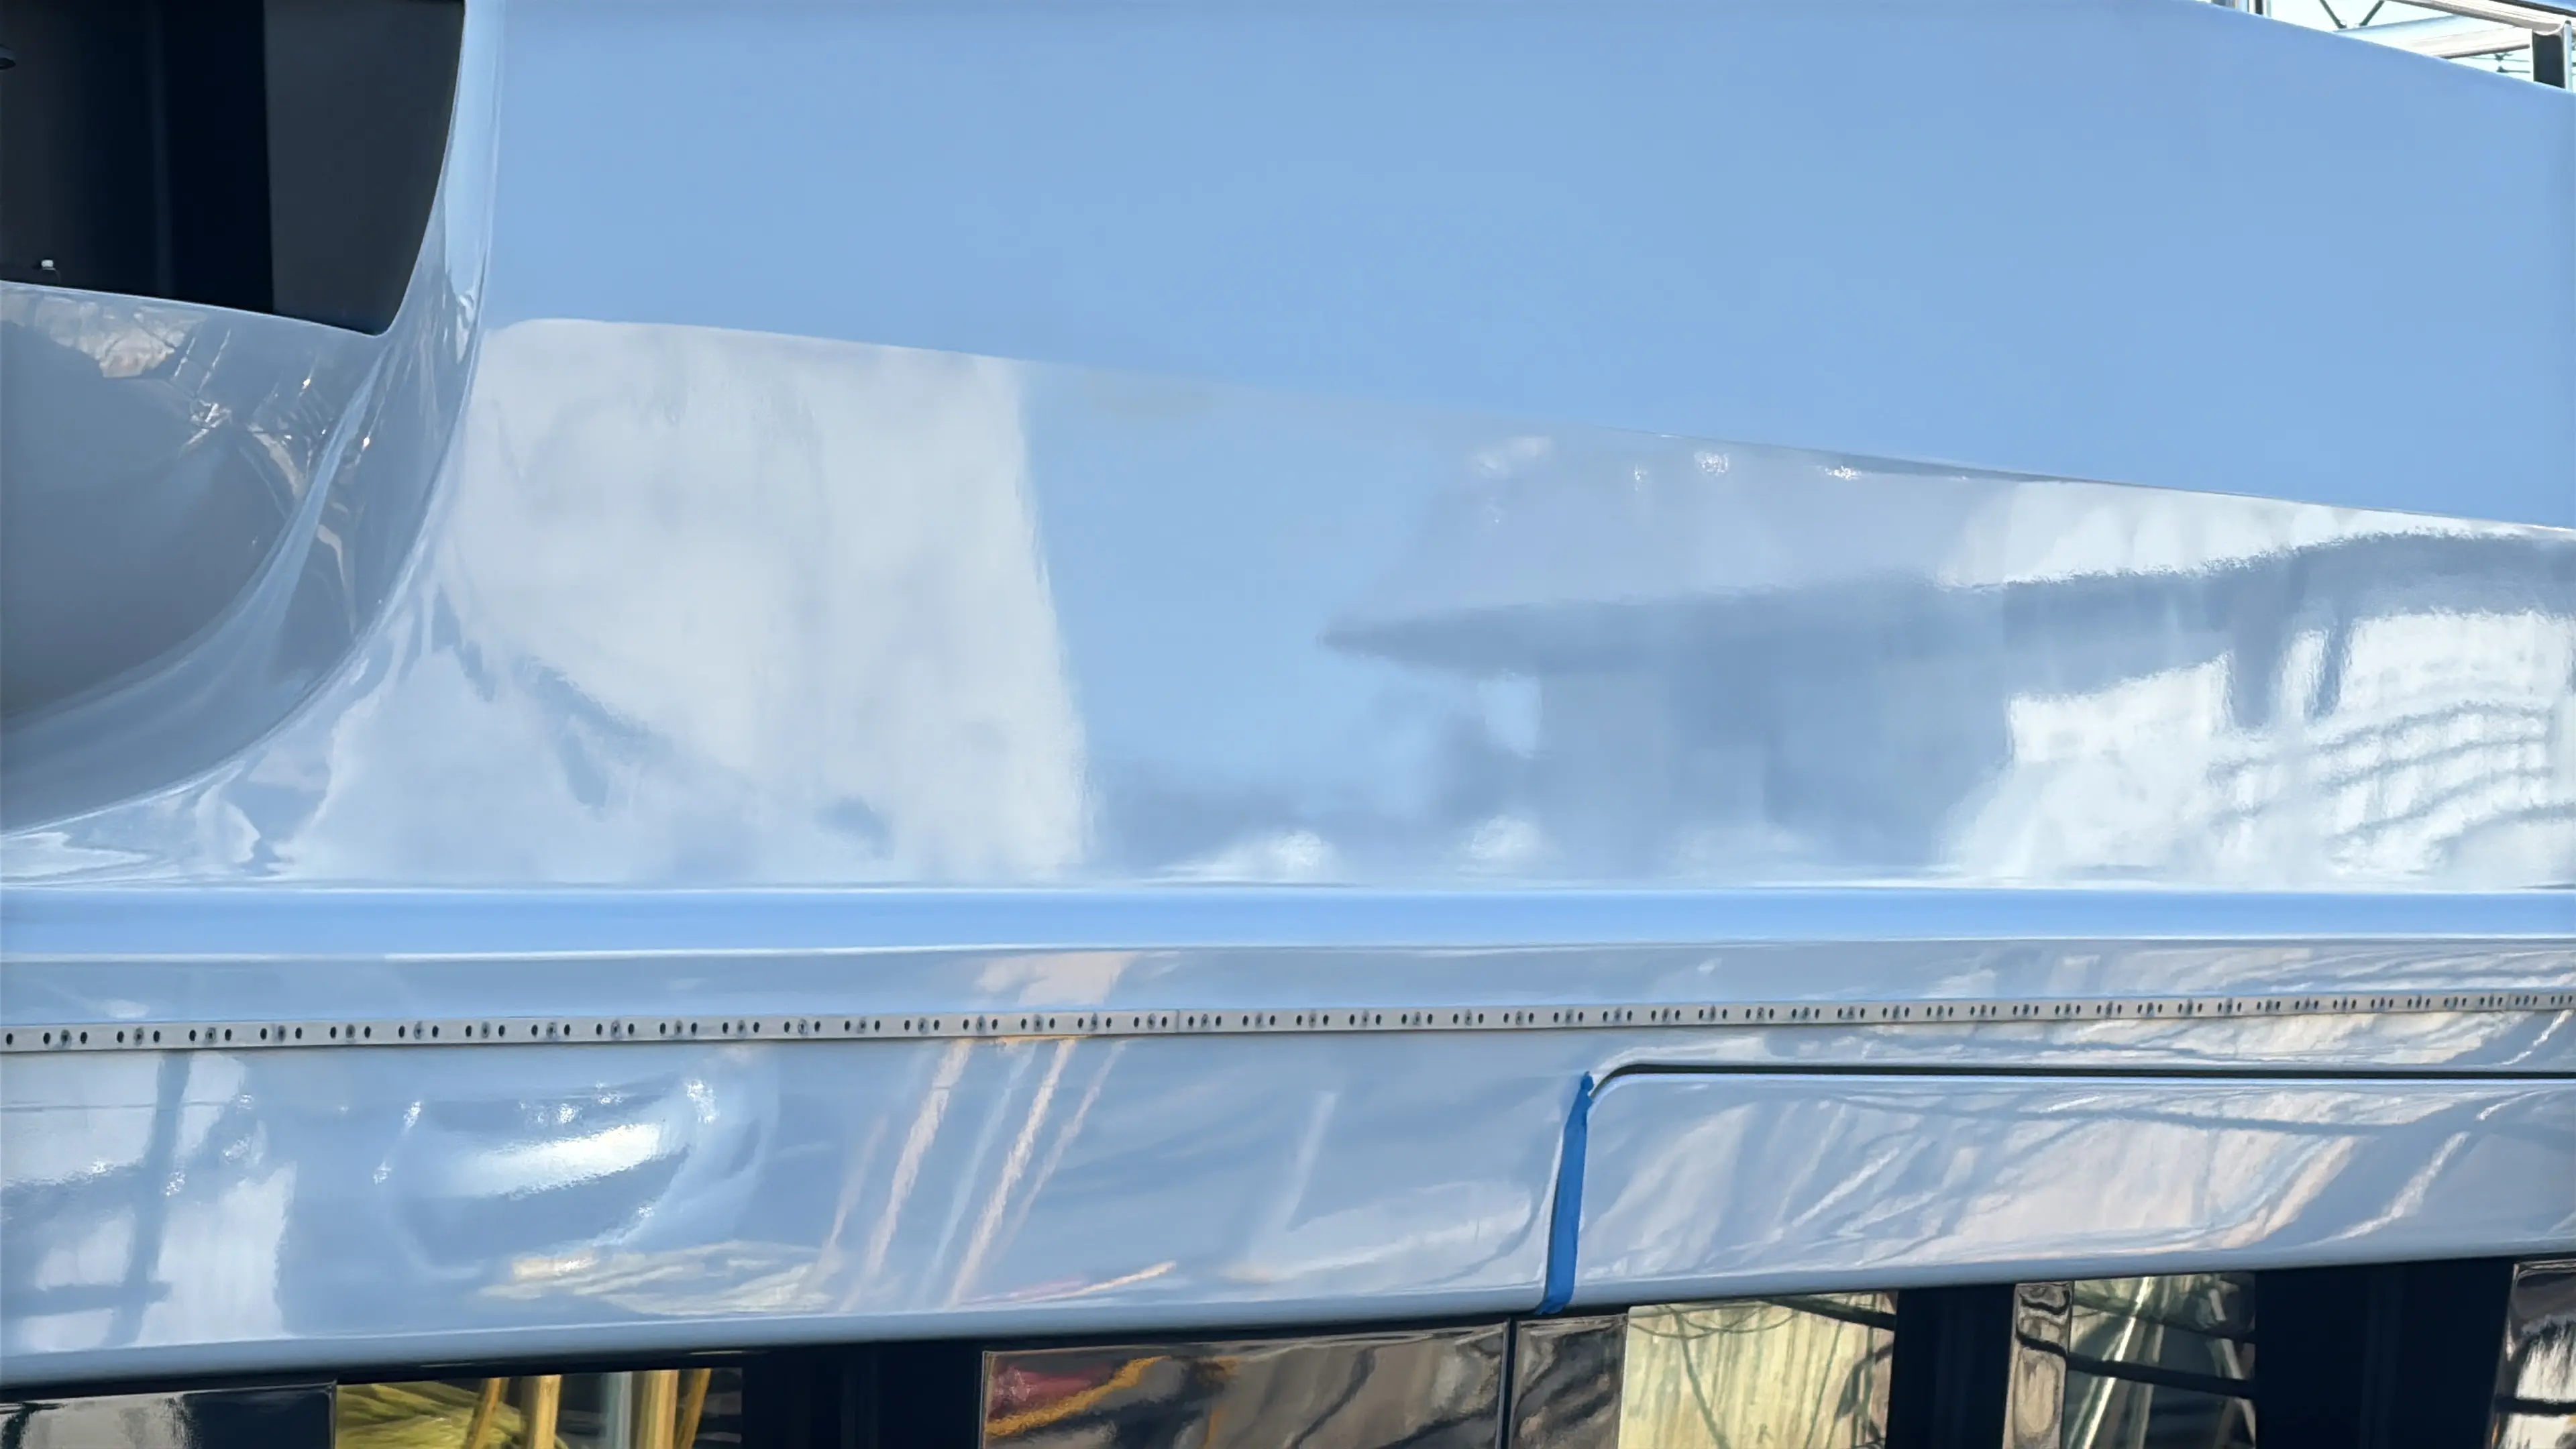
improve gloss and “slickness”
-
make routine washing faster
It doesn’t fix oxidation, heavy swirl marks, or chalky gelcoat by itself—that’s what polishing/paint correction is for.
What you’ll need
Products/tools:
-
pH-neutral boat soap
-
iron remover (for embedded contamination)
-
clay bar or clay mitt
-
compound/polish + polisher (recommended)
-
panel wipe (IPA wipe or dedicated prep solvent)
-
ceramic coating (marine-rated)
-
suede applicators + foam block
-
high-quality microfiber towels (several)
-
nitrile gloves
-
good lighting (swirls hide in low light)
Conditions:
-
Shade or indoor space
-
Moderate temperature and humidity
-
No wind (dust is the enemy)
Step 1: Wash the boat thoroughly
Start with a complete wash to remove salt, dirt, and film. Rinse well. If you’re working on a trailer boat, do the hull and topsides in sections so nothing dries on the surface.
Tip: Avoid wash soaps with wax or gloss enhancers before coating—those can interfere with bonding.
Step 2: Decontaminate (iron remover + clay)
Even if your boat “looks clean,” the surface can still hold embedded contaminants.
-
Spray an iron remover on gelcoat/paint and let it react (follow label instructions).
-
Rinse thoroughly.
-
Clay the surface with proper lubrication to remove remaining bonded debris.
This is what helps the coating bond evenly and prevents that gritty feel.
Step 3: Correct the paint/gelcoat (this is the big one)
If you see oxidation, haze, swirl marks, or dullness, polish it out before you coat. Ceramic coating will lock in whatever finish is there—good or bad.
-
Light defects: one-step polish can be enough
-
Heavy oxidation: compound → polish may be needed
For many boats, this is the difference between “it beads water” and “it looks like a mirror.”
Step 4: Panel wipe (prep solvent)
After polishing, you must remove polishing oils.
-
Use an IPA wipe or coating prep solvent
-
Wipe on, then wipe off with a clean microfiber
-
Do small sections and change towels often
If you skip this, you risk high spots, poor bonding, and reduced durability.
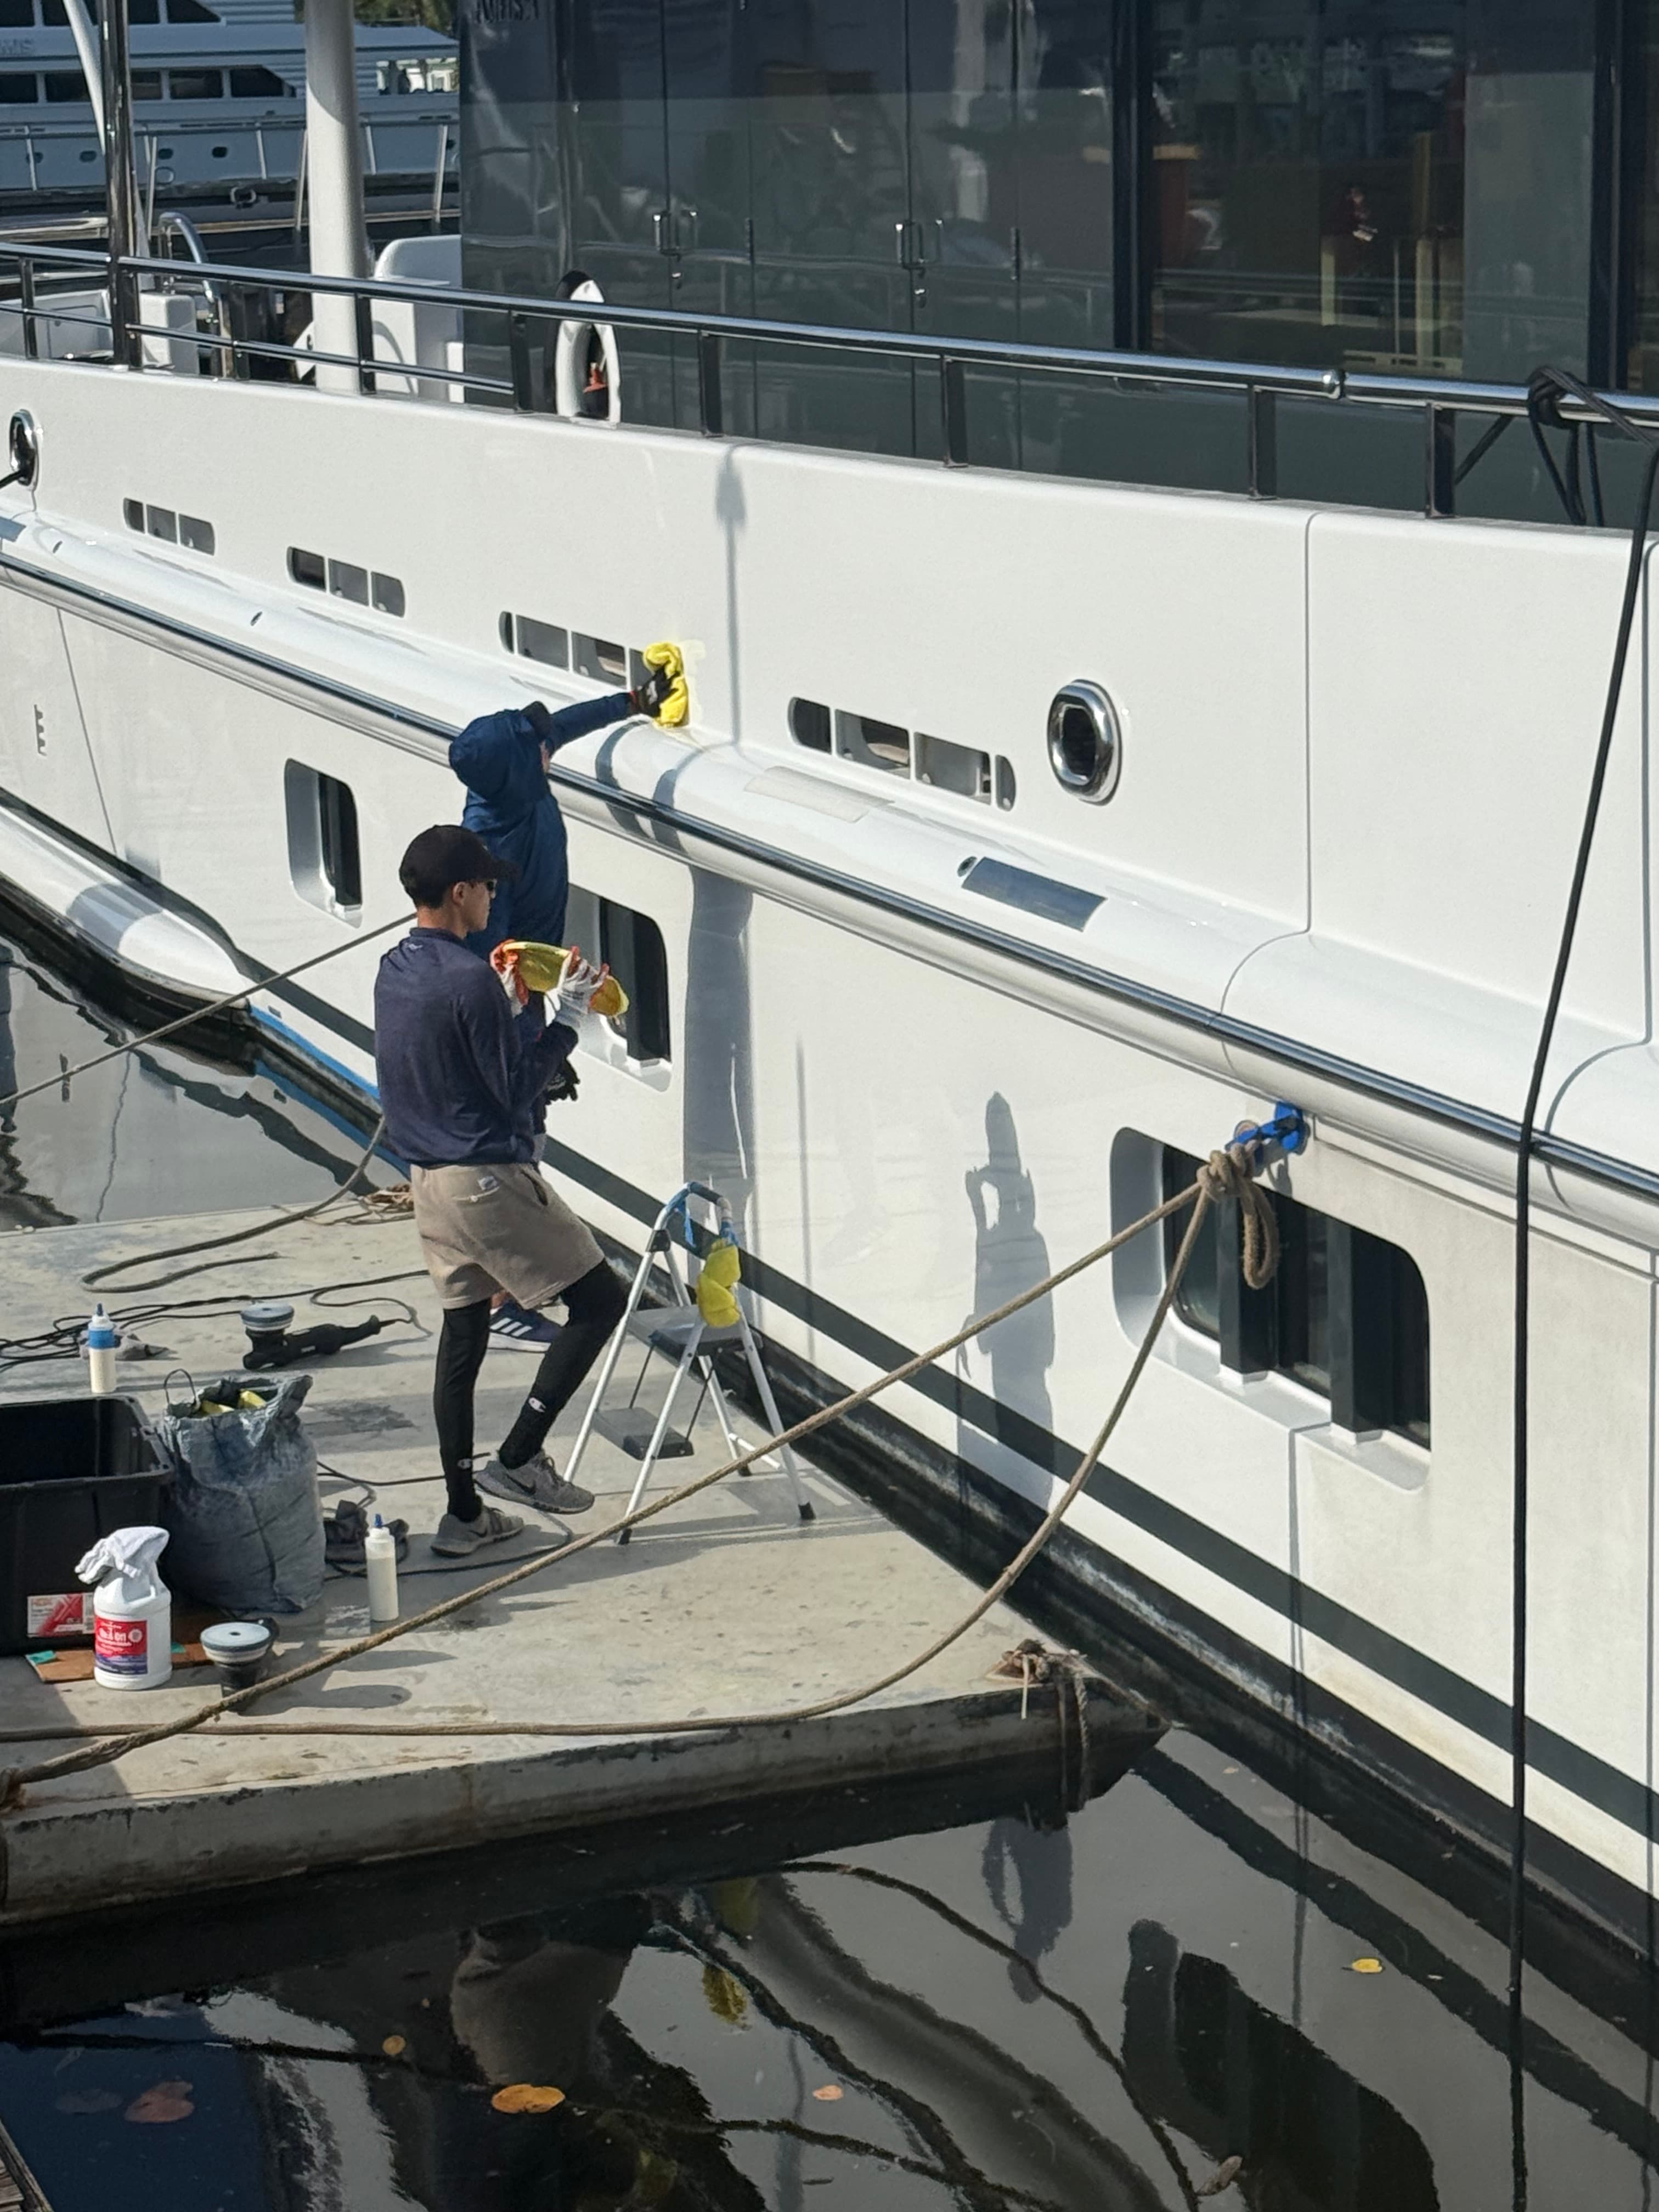
Step 5: Apply the ceramic coating
This is the part everyone focuses on—but it’s the shortest step if prep was done right.
-
Wrap a suede cloth around your applicator block.
-
Apply a few drops of coating to the applicator.
-
Work a small section (roughly 2’ x 2’) using a crosshatch pattern:
-
left to right
-
then up and down
-
-
Let it “flash” (the surface will start to look slightly rainbow/hazy depending on product and conditions).
-
Level and buff off with clean microfiber towels:
-
first towel to level
-
second towel to final buff
-
Important: High spots (dark streaks/haze) must be leveled quickly. If they cure, you may need polishing to remove them.
Step 6: Optional second layer
Many coatings allow a second coat after a short waiting window. This can improve uniformity and longevity—especially on high-exposure areas.
Always follow the specific coating’s instructions for timing.
Step 7: Cure time and aftercare
Curing is where coatings succeed or fail.
General best practices:
-
Keep the boat dry for at least 12–24 hours
-
Avoid washing with chemicals for 7 days
-
Keep it away from sprinklers, rain, and salt spray as much as possible early on
For maintenance, use a pH-neutral soap and soft wash tools. Harsh degreasers and aggressive pads can shorten the coating’s life.
Where you should NOT ceramic coat
-
Teak decks (different protection system)
-
Canvas/upholstery (use fabric protectants)
-
Heavy non-skid (some products can streak; it needs the right approach)
-
Surfaces that are still oxidized or chalky (correct first)
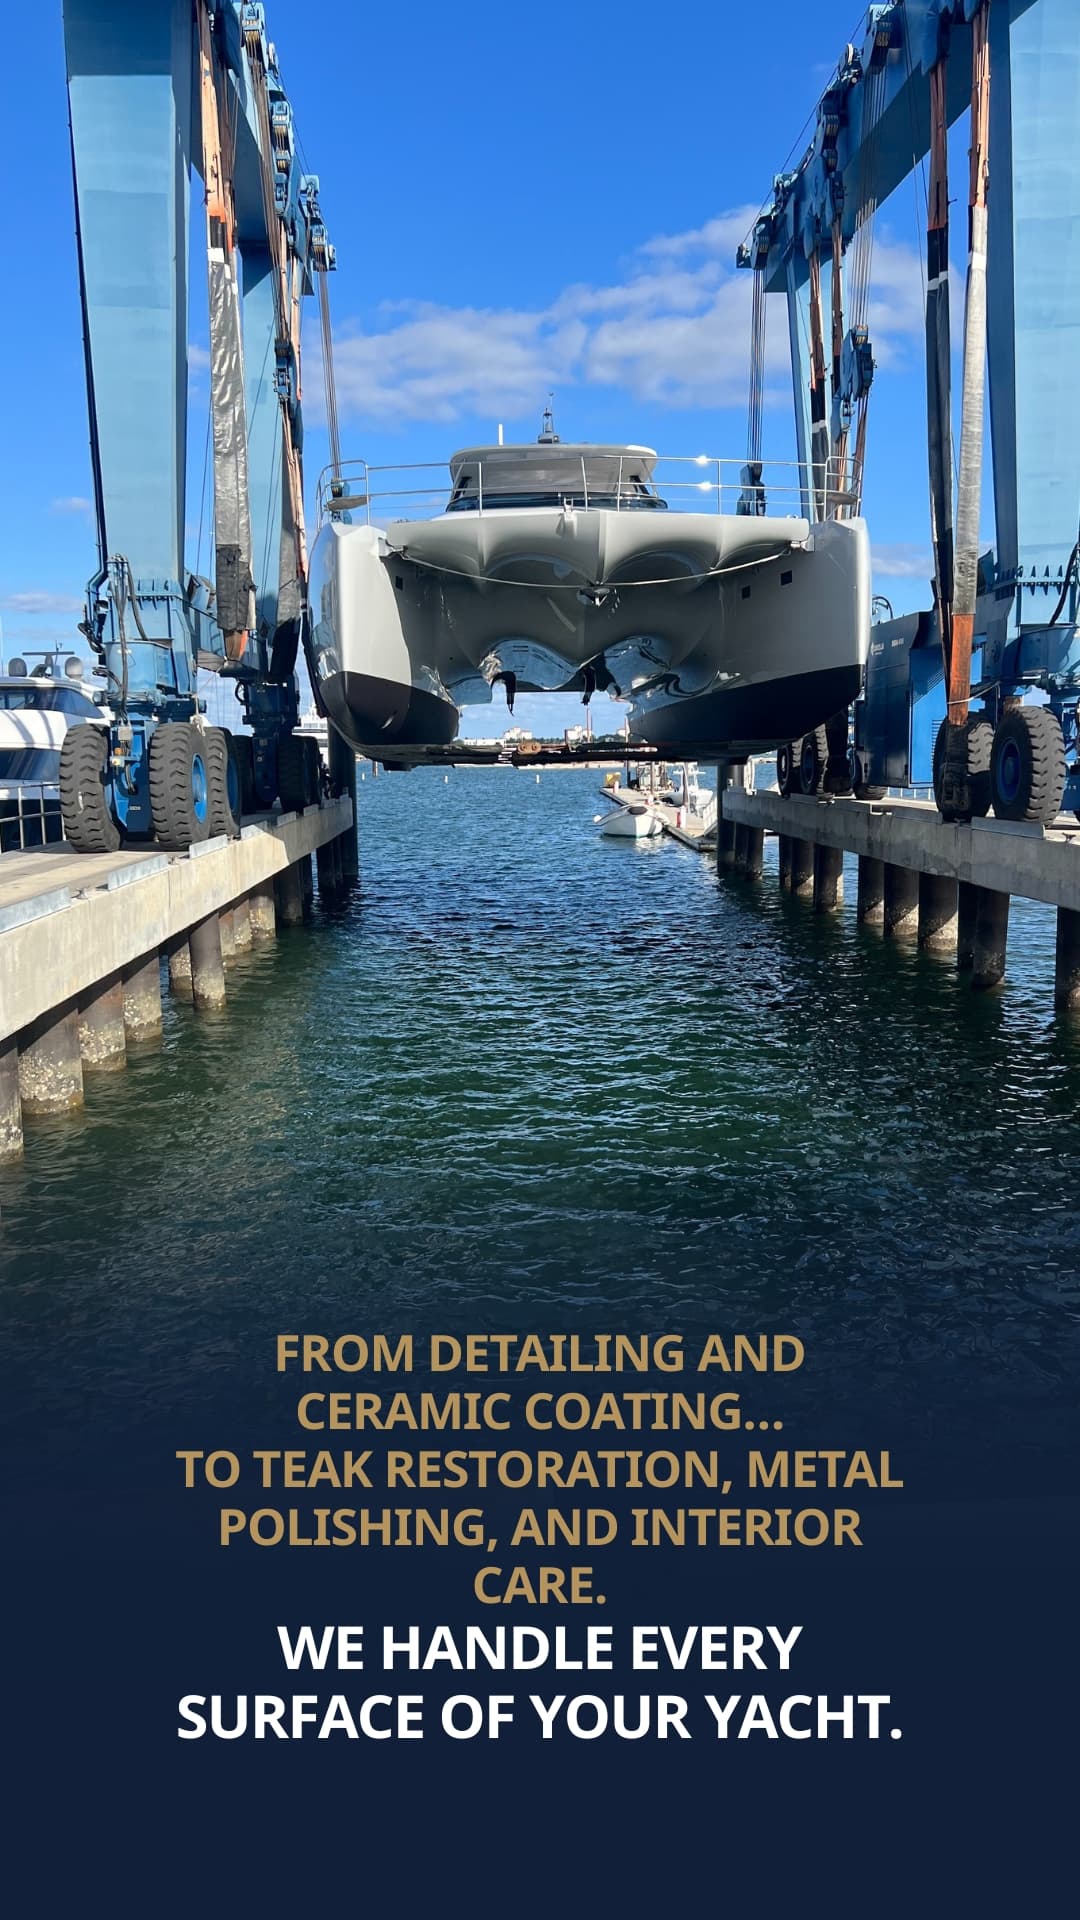
The easiest way to get professional results
Ceramic coating can absolutely be a DIY project—but on boats, the size of the surface, sun exposure, and oxidation make prep and correction a serious job. If you want it done right the first time, we can help.
Recent Posts
- Created at : 16 December 2025
- Created at : 29 November 2025
- Created at : 29 November 2025