
- access_time06 October 2025
- account_circleJuan Dangelo
- Paint Correction
Why repaint a yacht?
Fresh paint isn’t just about looks. A proper job protects laminates and metals, reduces drag, and preserves resale value. Done right, it can last years with minimal touch-ups.
Project overview (what to expect)
-
Duration: 7–21 days (size, condition, weather, and scope dependent)
-
Crew: 2–6 techs (prep is manpower-heavy)
-
Environments: Climate-controlled shed or calm outdoor yard with tenting
-
Systems impacted: Through-hulls, anodes, electronics (masking), deck hardware

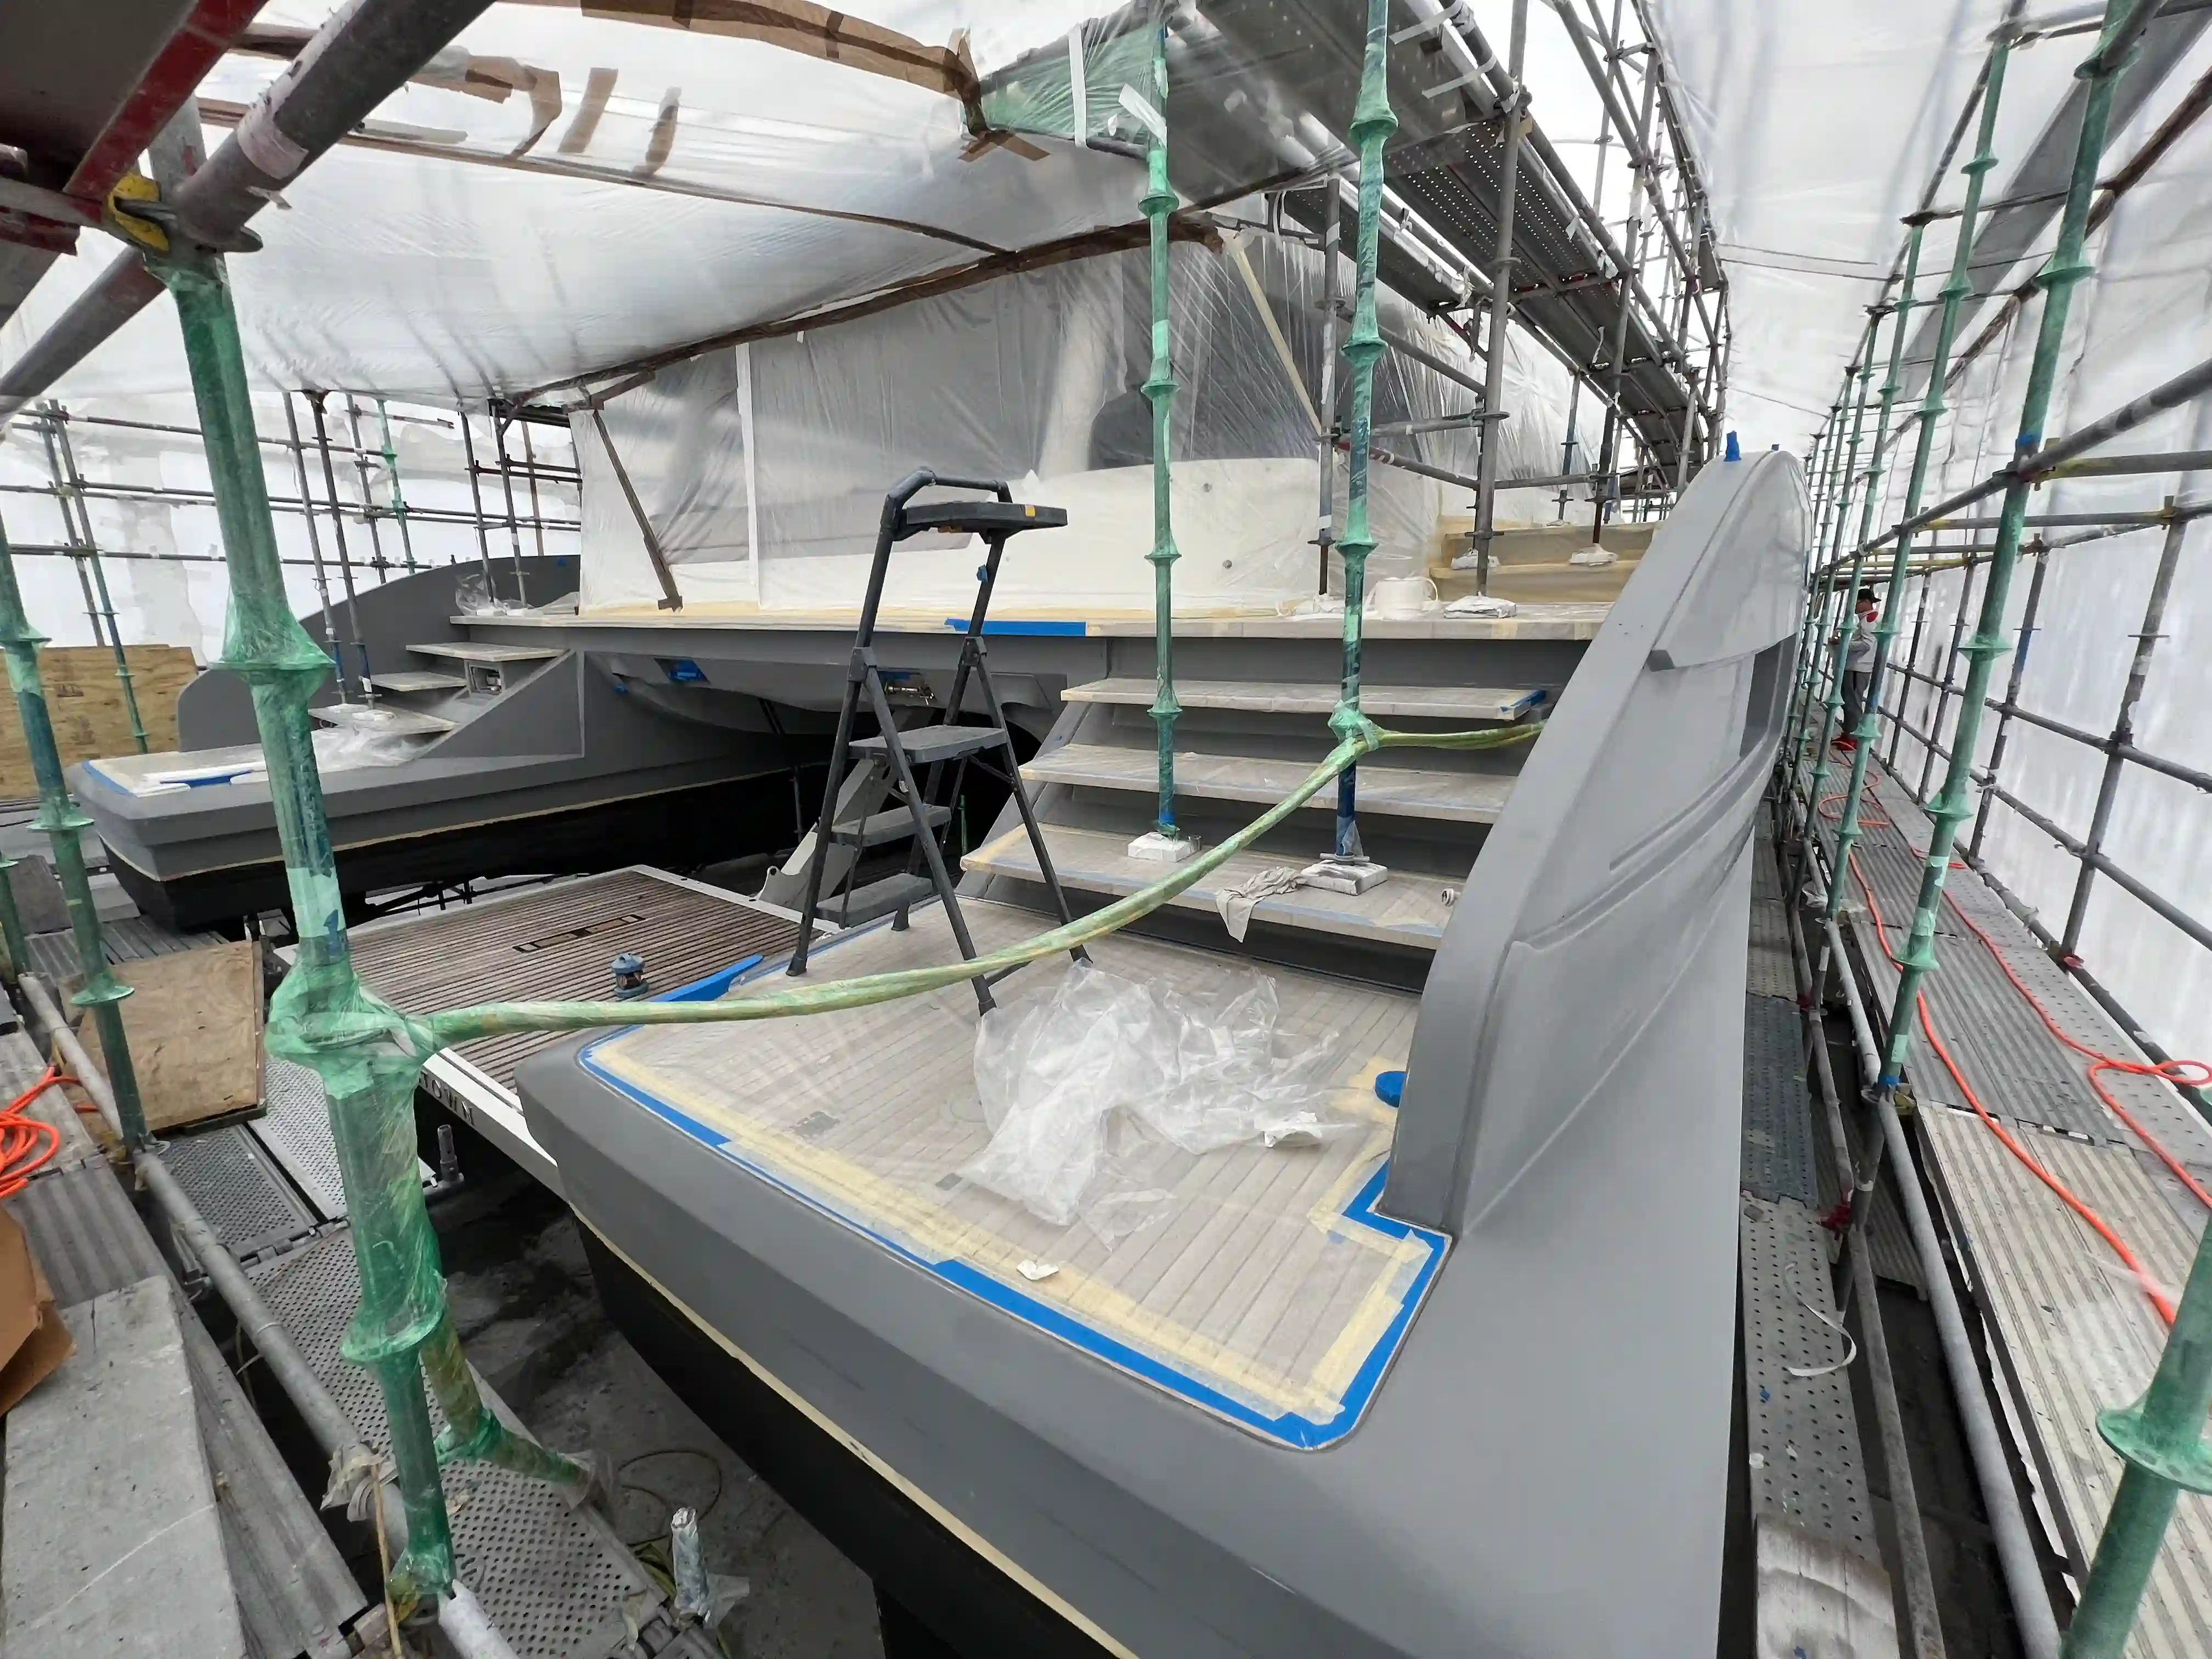
Step 1: Haul-out & Initial Inspection
-
Lift & block on stands with secure chocks.
-
Washdown: Remove salt, oils, and growth with a pressure wash and biodegradable degreaser.
-
Condition report: Note osmosis blisters, gelcoat cracks, corrosion, fairing issues, and previous coatings compatibility.
Pro tip: Photograph waterline, boot stripe, and decals for exact re-placement later.
Step 2: Surface Preparation (the make-or-break)
-
De-wax & degrease (solvent wipe; fresh towels only).
-
Abrasive sanding:
-
Gelcoat: 120–220 grit to open pores and key the surface
-
Previously painted topsides: 220–320 grit scuff
-
Aluminum/steel: follow coating manufacturer’s profile spec (e.g., SSPC/NACE equivalent)
-
-
Dust control: Vacuum + tack rag between every stage.
-
Fairing: Epoxy fairing compound to correct lows/highs; block-sand long to keep lines true.
-
Repairs: Fill pinholes, address stress cracks, treat corrosion, and dry out any laminate moisture.
Rule: 70–80% of the total time goes to prep. Don’t rush.
Step 3: Masking & Tenting
-
Mask waterline, rub rails, windows, hatches, instruments, and deck hardware.
-
Build a tent with adequate ventilation and filtration to keep dust out and VOCs controlled.
-
Check humidity and temperature—follow paint system limits (usually ~10–30 °C and <80% RH).
Step 4: Primers & Barrier Coats
-
Epoxy primer: Promotes adhesion and seals substrates.
-
High-build primer: Fills micro-defects; block-sand to laser-straight.
-
Barrier coat (below waterline): Protects against osmosis and improves antifoul adhesion.
-
Observe recoat windows precisely—too long and you’ll need to sand again.
Step 5: Topside Color Coats (the gloss)
-
Systems: Two-part linear polyurethane (LPU) for maximum gloss and UV resistance.
-
Application: Roll-and-tip for small craft or HVLP spray by certified techs in controlled conditions.
-
Coats: Typically 2–3 build coats to full, even color and DOI (distinctness of image).
-
Stripes & graphics: Apply after color cures; seal with clear if required.
Gloss saver: Use fresh, fine strainers; replace rollers/brushes often; maintain clean, laminar airflow.
Step 6: Non-Skid Decks
-
Base color coat, then non-skid media (pre-mixed or broadcast silica/cork) and a textured top coat.
-
Mask crisp borders and maintain consistent texture density for a custom-shop look.
Step 7: Bottom Coatings (performance & protection)
-
Antifouling paint: Choose hard, ablative, or hybrid depending on speed profile and waters.
-
Application: 1–2 coats (3 on leading edges/rudder). Respect launch window—some paints must splash within a set period.
Step 8: Curing, Cut-&-Polish, and Refit
-
Observe full cure times before heavy handling.
-
Optional: Light colour-sand (1500–3000 grit) and polish to remove minor dust nibs and enhance DOI.
-
Reinstall hardware with fresh bedding; align boot stripe; final QA under mixed lighting (daylight + LEDs).

Aftercare: Make the finish last
-
First 30 days: Gentle hand wash only; avoid wax/sealants until fully cured (follow paint spec).
-
Ongoing: pH-neutral soap, soft mitts, two-bucket method.
-
Protection: Ceramic coating can add slickness and UV resistance to topsides once the paint has fully cured.
-
Schedule: Quarterly washes, bi-annual decontamination, annual inspection for chips and fender rub.
Common mistakes to avoid
-
Painting over contamination (silicones, waxes, fish-eyes).
-
Missing recoat windows—leading to intercoat adhesion failure.
-
Skipping fairing time—gloss only highlights wavy hulls.
-
Inadequate tenting—dust and overspray ruin finishes.
-
Using mismatched systems—always stay within one manufacturer’s primer/topcoat family.
Materials & Equipment Checklist
-
Solvent wipes, lint-free towels, tack cloths
-
Abrasives (120–320+ grit), long boards, DA sanders with dust extraction
-
Epoxy fairing compound & fillers
-
Epoxy primer, high-build, barrier coat (below waterline)
-
LPU topcoat system, reducers, hardeners
-
Non-skid media (if applicable)
-
Antifouling paint (type suited to waters/speed)
-
Masking tapes/films, plastic sheeting, tenting and ventilation gear
-
HVLP spray gear or premium rollers/brushes, wet film gauges
-
PPE: respirators (proper cartridges), suits, gloves, eye/hearing protection
Sample Timeline (mid-size cruiser)
-
Days 1–3: Haul-out, wash, de-wax, initial sanding
-
Days 4–7: Fairing, high-build primer, block-sand
-
Days 8–10: Epoxy primer (topside), LPU color coats
-
Days 11–12: Stripes/graphics, cure
-
Days 13–14: Barrier coat + antifouling, cure
-
Day 15+: Cut-&-polish (as needed), refit, splash
FAQ

How
often should I repaint?
Topsides: every 5–8
years (with good care). Bottom: annually or bi-annually,
depending on fouling.
Roll-and-tip
or spray?
Roll-and-tip can look excellent on
smaller boats; spray yields the highest, most uniform gloss in
controlled environments.
Can
I just “touch up”?
For small chips, yes. For
oxidized or chalky topsides, a full system (prep → prime →
topcoat) is the durable fix.
Great paint is 80% preparation, 20% application, and 100% attention to detail. Follow the system, respect the environment conditions, and your yacht will turn heads—and slice through water more efficiently—for seasons to come.
Recent Posts
- Created at : 16 December 2025
- Created at : 16 December 2025
- Created at : 29 November 2025